Red Bull Spec Stratovector
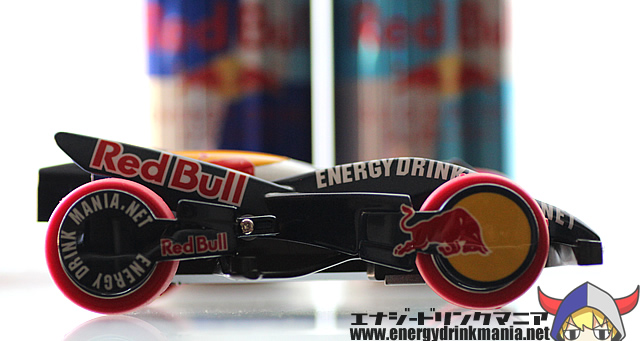
Mini 4WD Strato Vector Red Bull Edition
I impulsively started a project that I didn’t think through completely. I belong to the generation that got into the Mini 4WD boom back in the day, and I decided to bring out my collection of old Mini 4WD cars for this project.
Out of all the Mini 4WDs, my favorite is the front-motor FM chassis. I’ve always thought the Strato Vector was cool, so I decided to make it in a Red Bull version.
 Author: Energy Drink-kun
In 2001, while living in the United States, I encountered energy drinks through the dance scene and was deeply impressed. After returning to Japan, I found that energy drinks were considered novelty beverages, so I established a comprehensive website in 2013 to share the true appeal of energy drinks. As an energy drink enthusiast, I began drinking them seriously again, collecting over 7,000 varieties of energy drinks from various countries. I am also active as a critic and expert, receiving media interviews.
Energy Drink Mania
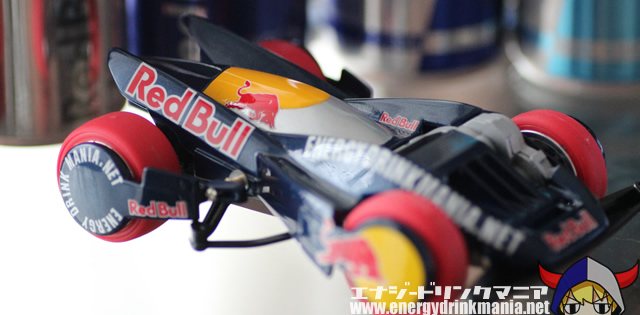
Here's the finished product. I painted the whole thing using Tamiya’s Pearl Blue. Red Bull has a wide variety of decals, so it's easy to make it look the part.
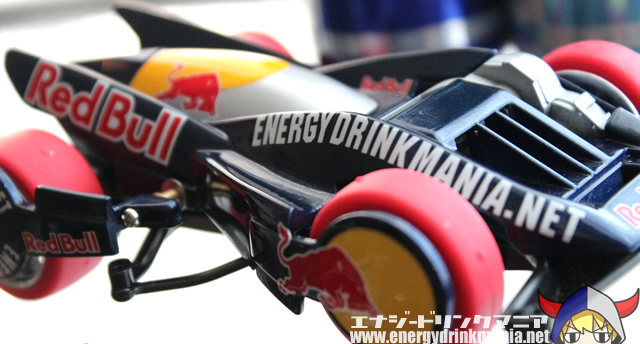
Since I was at it, I decided to add the Energy Drink Mania URL to the curved part. I cut each letter of the decal individually and attached them along the curve. Since there were a lot of E’s and N’s, I ended up using two sets of alphabet decals (;´∀`)
I Love That Glossy Finish (*´艸`*)
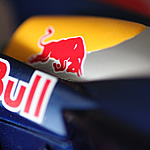
One of the things I really wanted to do was give the surface a glossy, mirror-like finish. It feels so good when it reflects nicely (●´ω`●)
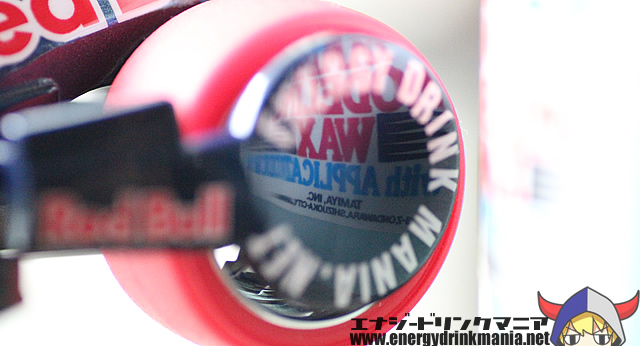
I applied Tamiya’s modeling wax to try and get that reflection. I focused the lens on the reflective part. It’s like a mirror. This is exactly what I wanted to achieve, lol.
Production Process of the Strato Vector Red Bull Edition
Shaping
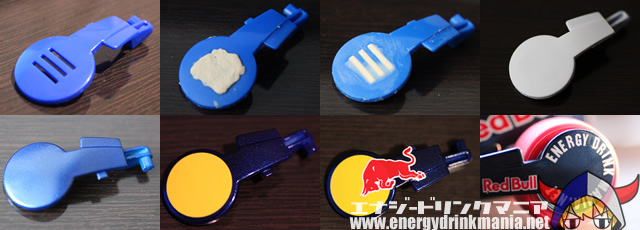
The main body of the Strato Vector had a lot of bumps and holes, so I filled them all with putty. The wheel cover part also had holes, so I filled them and made it look like nothing was ever there. Once it dried, I filled it a few times and then smoothed it out.
Painting
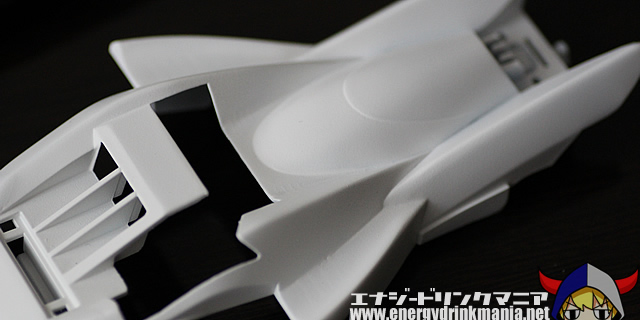
Next, I applied a surface primer to help the paint adhere better. This time, I used Tamiya’s white primer. After priming, I lightly sanded it with 1000 grit sandpaper and did a light wet sanding. Wet sanding the surface while submerged helps the paint apply more smoothly.
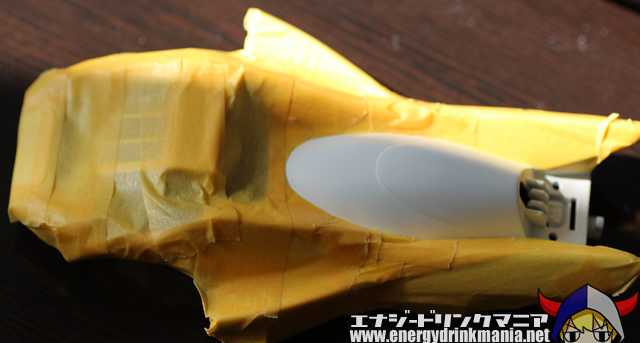
I then applied paint while masking different sections. First yellow, then silver, and finally, I painted the whole thing blue.
Applying the URL
Once all the painting was done, I applied the decals. Red Bull decals are very varied and easy to use.
One thing I was particular about was adding the URL.
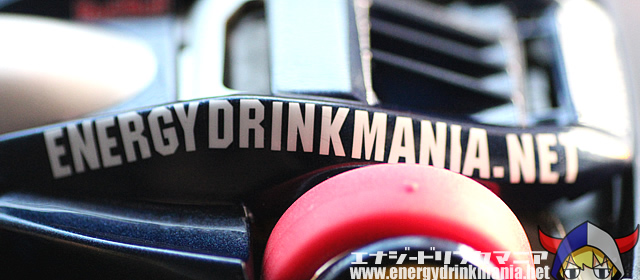
I carefully positioned each letter to align with the curve. Since each letter was applied by hand, it was tricky to balance them just right. But the result is a beautiful curve, don’t you think?!
Glossing
Finally, I applied a clear coat to smooth out the decal lines. I ended up using two and a half cans of clear spray. Maybe a little too much.
After applying the clear coat to fill in the decal lines, I used 1000 grit sandpaper to flatten the surface, then switched to 2000 grit for a finer polish.
Lastly, I polished it thoroughly with Tamiya’s “Compound Fine” and finished it off with “Compound Finish” to make the gloss perfect. Afterward, I added a layer of “Modeling Wax” and it was done.
It took a lot of time and effort to get everything just right, but it was worth it. This is actually the first time I’ve painted something this seriously, lol. And it’s also the first time I’ve applied decals properly. Considering I’m an amateur, I think I did a pretty good job (*´艸`*)


 Since 2001, Energy Drink Maniac has been drinking energy drinks and providing the most detailed reviews of global energy drinks based on firsthand research.